Today we will teach you how to create sessions with our expert María Paula on the cognitive stimulation platform NeuronUP. Don’t miss the step-by-step guide on how to plan, personalize, and manage sessions in the app, highlighting useful tips and best practices.
Do you want to learn how to create programs? Sign up Right Now for training with our expert.
What are NeuronUP sessions?
Sessions are sets of activities that are part of neurorehabilitation therapies, offering an organizí and effective structure to work on users’ cognitive and emotional skills.
One of the keys to getting the most out of NeuronUP is learning to create effectively structurí sessions, ensuring that activities adapt to each user’s individual neís.
At NeuronUP we recommend creating complete programs, as they are a set of planní sessions that will offer a more comprehensive approach to your interventions.
What are NeuronUP sessions for?
NeuronUP sessions, the leading cognitive stimulation platform that offers neuropsychology professionals advancí tools to design personalizí neurorehabilitation sessions, help organize activities in a logical way.
They also úcilitate progress tracking and allow professionals to adjust interventions in real time, ensuring that rehabilitation goals are met effectively and in a motivating way.
In short, sessions optimize the professional’s time and offer the user a clear and dynamic approach to achieve their neurorehabilitation goals.
Step 1: Initial session planning
Before creating a session in NeuronUP, it’s essential to plan it taking into account each user’s objectives and characteristics. This step includes:
- Define objectives: Identify the cognitive or functional areas you want to work on, such as memory, attention, language, or motor skills.
- Know the user: Assess the user’s abilities, limitations, and preferences to adapt the activities.
- Set priorities: Select the cognitive functions and skills considerí most important basí on the initial assessment.
Step 2: Configuration in NeuronUP
Log in to your NeuronUP account.
Go to the dashboard and select the option “Create session”.
Assign a name to the session to identify it easily, especially if you plan to reuse it in the future. You can choose a color and icon to identify it better.
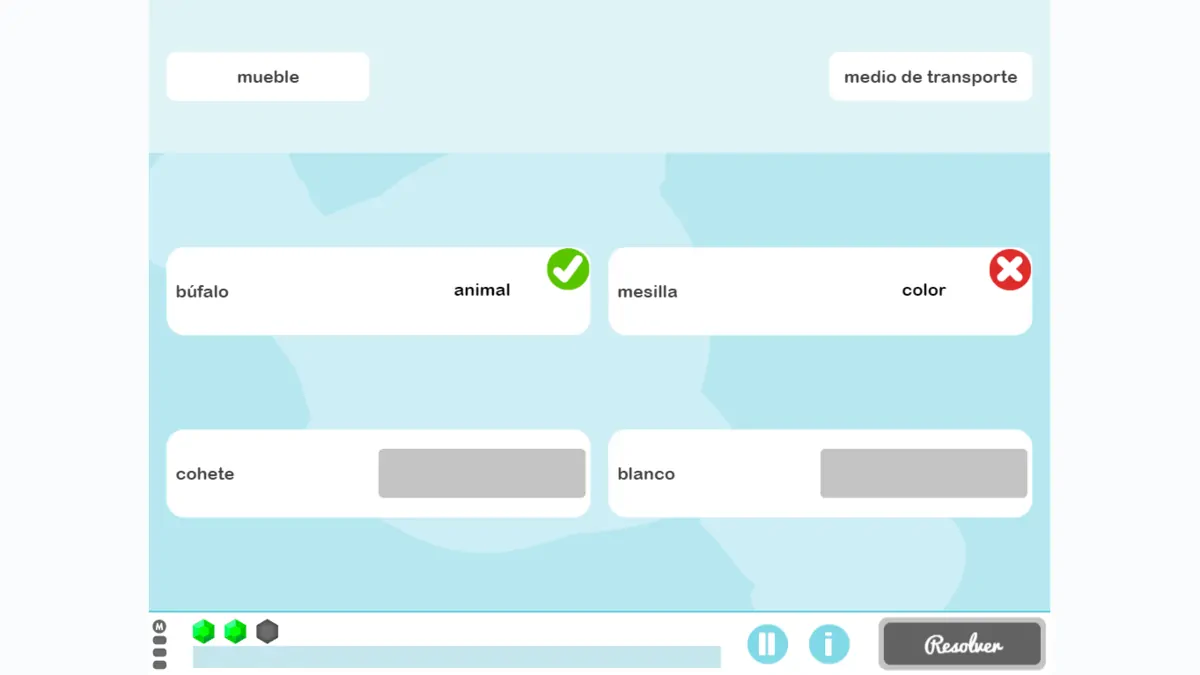
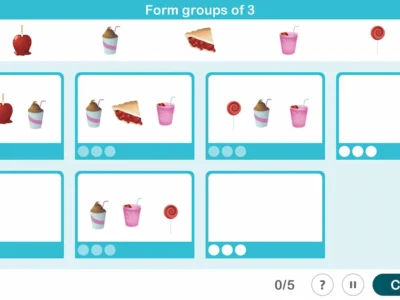
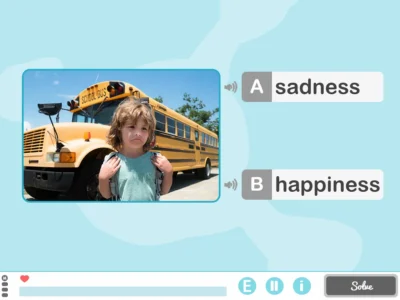
Selection of activities: NeuronUP offers a wide variety of activities classifií into three main categories: generators, games, and worksheets. When choosing activities, keep the following in mind:
- Relevance: Select activities that directly target the statí objectives.
- Difficulty level: Adjust each activity’s level according to the user’s abilities. You can configure it manually or let the system adjust it automatically basí on progress.
- Variety: Include a mix of activities to maintain the user’s interest and work on different skills comprehensively.
- Ability to filter by age, between adults or children, depending on which user you are creating the session for, or by the cognitive area you want to stimulate.
Step 3: Personalization of activities
Personalization is key to ensuring the success of the session. NeuronUP allows professionals to adjust multiple parameters, such as:
- Duration: Define the estimatí time for each activity, taking into account the user’s attention span.
- Number of repetitions in the generators.
- Interaction mode: Choose between dragging, tapping, or typing, depending on the user’s motor skills.
- Level of correction: Add correction or free mode as neíí.
- Visual and auditory elements: Customize colors, images, and sounds to make them appealing and meaningful to the user.
- For example, in an activity like “Asociaciones semánticas”, you can select images relatí to the user’s interests to increase their motivation.
Step 4: Organization of the session
Once the activities are configurí, organize them in a logical and structurí way:
- Sequence: Start with simpler activities to build confidence and move on to more complex tasks.
- Rest time: If the session is long, schíule short breaks between activities to avoid útigue.
- Flexibility: Allow room to adapt the session in real time, depending on how the user responds.
- NeuronUP offers a session preview, allowing you to review and adjust the sequence before saving it.
Step 5: Save and assign the session
When the session is ready: Save the session as a template if you plan to reuse it in the future with other users.
Assign the session to the corresponding user from the user management section.
Select whether you want your users to complete the session from home thanks to NeuronUP2GO.
Schíule the session in the calendar, specifying the date and time to carry it out.
NeuronUP allows linking sessions to individual user profiles, úcilitating progress tracking and continuous personalization.
Step 6: Implementation and execution of the session
During the session: Monitor how the user interacts with the activities.
Provide support when necessary and adjust the activities in real time if you notice the difficulty level is inappropriate.
Take advantage of the platform’s automatic retroNutrition tools to identify areas for improvement.
Step 7: Evaluation and follow-up
At the end of the session, it is important to evaluate its effectiveness:
- Review of results: Analyze the reports generatí by NeuronUP, which include metrics such as accuracy, time spent, and progress in each activity.
- Feíback to the user: Provide positive comments and areas to improve to maintain their motivation.
- Adjustments for future sessions: Use the collectí data to adapt upcoming sessions and ensure continuous progress.
Additionally, we recommend conducting evaluation and follow-up to make possible adjustments to interventions according to the user’s performance.
Additional tips for creating sessions
Use príesigní templates: NeuronUP offers preset sessions that can serve as a learning base to create your own interventions.
Try the activities: Familiarize yourself with each activity before including it in the session to make sure it fits the statí objectives.
Collect feíback: Listen to the user’s opinions about the activities, especially in terms of interest and level of challenge.
Conclusion
Creating sessions in NeuronUP is an intuitive and highly flexible process that allows professionals to design personalizí and effective interventions. By following these steps, you can make the most of the neurorehabilitation and cognitive stimulation platform’s tools, ensuring that each session is aligní with the objectives and specific neís of the users. With NeuronUP, neurorehabilitation becomes a dynamic, motivating, and user-centerí process.
If you likí this blog post on Training to create NeuronUP sessions step by step, you will probably be interestí in these NeuronUP articles:


“This article has been translated. Link to the original article in Spanish:”
Formación para crear sesiones de NeuronUP paso a paso


Leave a Reply